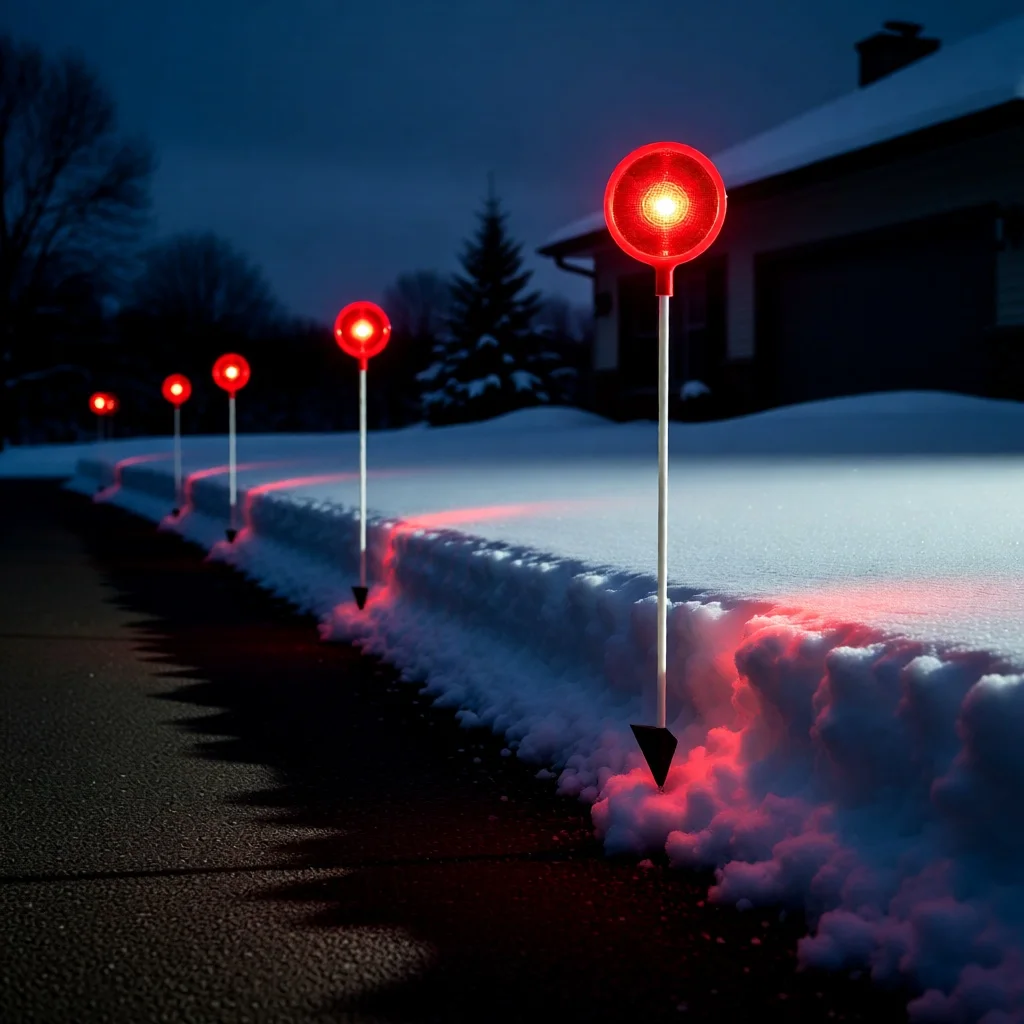
Driveway markers for snow plowing: plan before winter
Choose visible seasonal markers and coordinate their placement with the person clearing your driveway.
As an Amazon Associate I earn from qualifying purchases. This guide does not represent hands-on product testing.

Snow markers provide reference points when snow hides a driveway edge. Their usefulness depends as much on placement and maintenance as on the pole itself. Before shopping, ask the person doing the plowing what they need marked and whether they supply or install their own markers.
Agree on what the markers mean
A stake can mark a pavement edge, a setback, a drainage feature, or an obstacle. Those meanings are not interchangeable. Walk the property with your contractor and agree on the route, snow-storage areas, turnarounds, and features that need special attention. Explain any culvert, soft shoulder, low wall, or raised utility feature that becomes difficult to recognize under snow.
Avoid designing a layout that encourages a blade or tire to travel directly over the markers. Markers are visual aids, not barriers or a promise that equipment cannot cross an edge. Keep the agreed layout consistent throughout the season.
Select height for the installed position
Compare above-ground height rather than package length. Ground insertion reduces visible height, and piled snow can be much deeper than the undisturbed snowfall elsewhere on the property. Check whether the reflective section will still be exposed after the bank forms. Taller is not automatically better if the pole interferes with sightlines, branches, or equipment.
Look at flexibility, the attachment of the reflector or reflective band, and whether the manufacturer describes the product for winter use. Do not assume that a flexible pole is designed to survive direct contact with a plow.
Install before access becomes difficult
Plan installation while the ground is workable, following the product's instructions and utility-location requirements. Where ground penetration is involved, arrange the appropriate locate process first. The US 811 service explains requesting marks and waiting for responses; in Québec, start with Info-Excavation.
Keep a simple property sketch or photographs showing the intended locations. This helps you notice displaced markers and repeat a useful layout next year. Do not obscure utility-locate marks or treat them as driveway markers.
Check after significant clearing
From a safe place, look for missing poles, loose reflectors, hidden reflective sections, and changes in the snowbank. Discuss any change with the contractor before relocating a marker. Clear access to essential facilities must remain usable, and pedestrians should not have to weave through stakes.
In spring, remove seasonal markers when appropriate, clean and inspect them, and store them where sharp ends cannot cause injury. Replace split or heavily damaged poles rather than returning them to the next winter's stock.
For quantity planning, see driveway marker spacing and the calculator.
Ready to compare your options?
Check the current listing for dimensions, pack quantity, mounting instructions, and availability before ordering.
Browse on Amazon