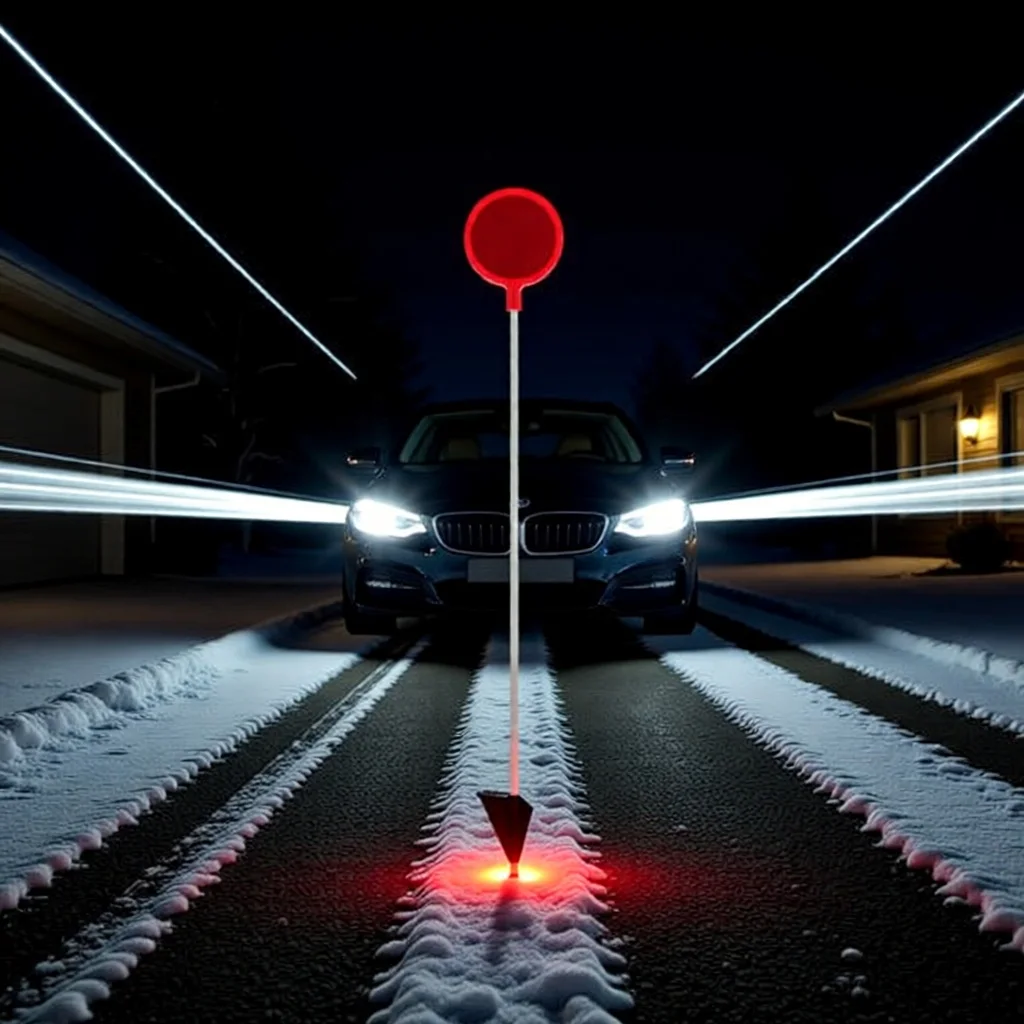
How to install driveway markers without guesswork
Prepare the layout, check underground services, and follow the right mounting method for your markers.
As an Amazon Associate I earn from qualifying purchases. This guide does not represent hands-on product testing.

Driveway-marker installation starts with a placement plan, not with driving the first stake. Read the exact product instructions before choosing tools or deciding insertion depth. Ground stakes, screw-mounted reflectors, and adhesive markers need different preparation.
Check the location before penetrating the ground
Confirm that the proposed location is on property where you have permission to work. Consider buried utilities and privately installed lines such as landscape lighting, irrigation, or electrical supplies to outbuildings. A shallow stake is not a reason to assume the ground is clear.
In the United States, contact 811 before digging, follow the required waiting period, and confirm responses. In Québec, use Info-Excavation. Elsewhere in Canada, use the applicable provincial locate service. Ask what is covered and whether private facilities need separate location.
Lay out the whole route first
Identify entrance corners, curves, narrowing sections, and maintenance access. Place temporary indicators without penetrating the ground, then assess sightlines. For a plowed driveway, obtain the contractor's input. Keep the layout out of pedestrian routes and away from locations where a marker would obstruct visibility.
Count the final positions and compare them with the pack quantity. This avoids reaching the last curve with no suitable markers left or compressing the spacing simply to use the contents of a package.
Install ground stakes as instructed
Use the manufacturer's recommended tools and depth. Do not strike a reflector head unless the instructions expressly allow it. Stop if you encounter unexpected resistance; forcing a stake can damage it or strike something beneath the surface. Do not improvise with an oversized drill or sharpened component to overcome an unknown obstruction.
Check the installed height, upright position, and stability. Orient the reflective face toward the intended approach. At entrances used in both directions, verify that the chosen product and its position serve both approaches.
Prepare surface-mounted products correctly
Confirm surface compatibility and follow the adhesive or fastening instructions, including cleaning, dryness, temperature, and curing requirements. A fixing that bonds to one material may not suit loose gravel, a crumbling edge, or a coated surface. Keep vehicles and maintenance equipment away for the specified curing period.
For electrical or wired lighting, follow the applicable installation requirements and use a qualified professional where necessary. Do not treat a general reflector guide as an electrical installation manual.
Finish with an inspection
Look for sharp projections, unstable fittings, and interference with gates, doors, snow equipment, or mowing. Inspect visibility after dark from a safe position. Record the model and installation date so replacements and maintenance are easier later.
See the spacing guide before buying and the maintenance checklist after installation.
Ready to compare your options?
Check the current listing for dimensions, pack quantity, mounting instructions, and availability before ordering.
Browse on Amazon